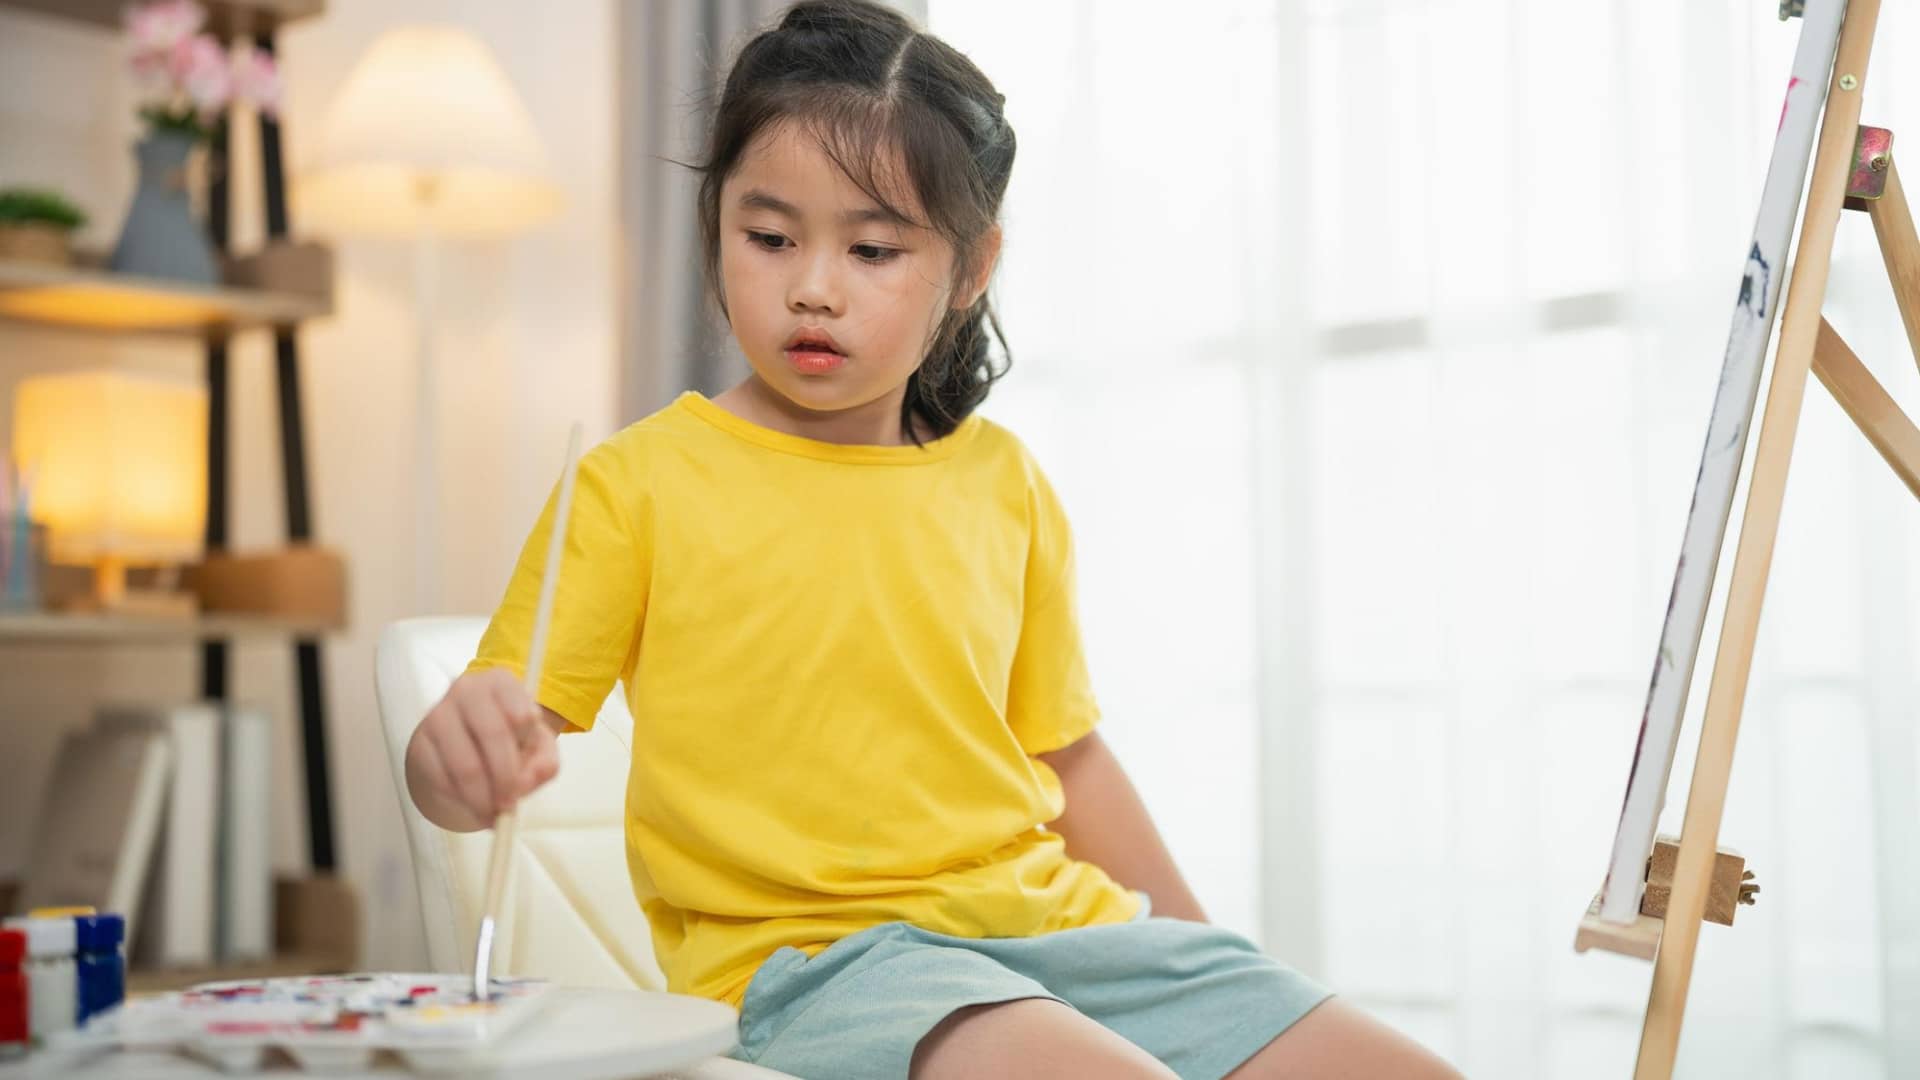
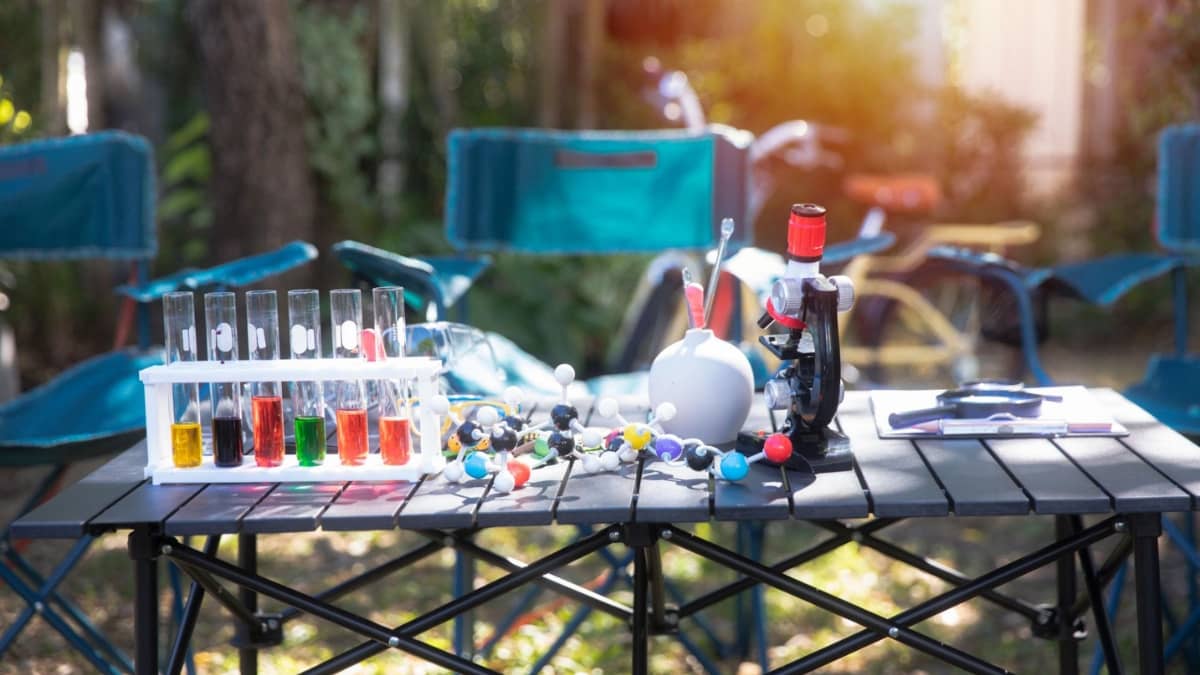
Science experiments spark wonder, build critical thinking skills, and create lasting memories for children. This comprehensive collection of 25 safe, engaging science experiments to do at home transforms your home into a dynamic learning laboratory using simple household materials. Each experiment is designed to align with Next Generation Science Standards (NGSS) while providing hands-on learning experiences that follow Dale’s Cone of Experience principles—moving from concrete, tactile experiences to deeper conceptual understanding.
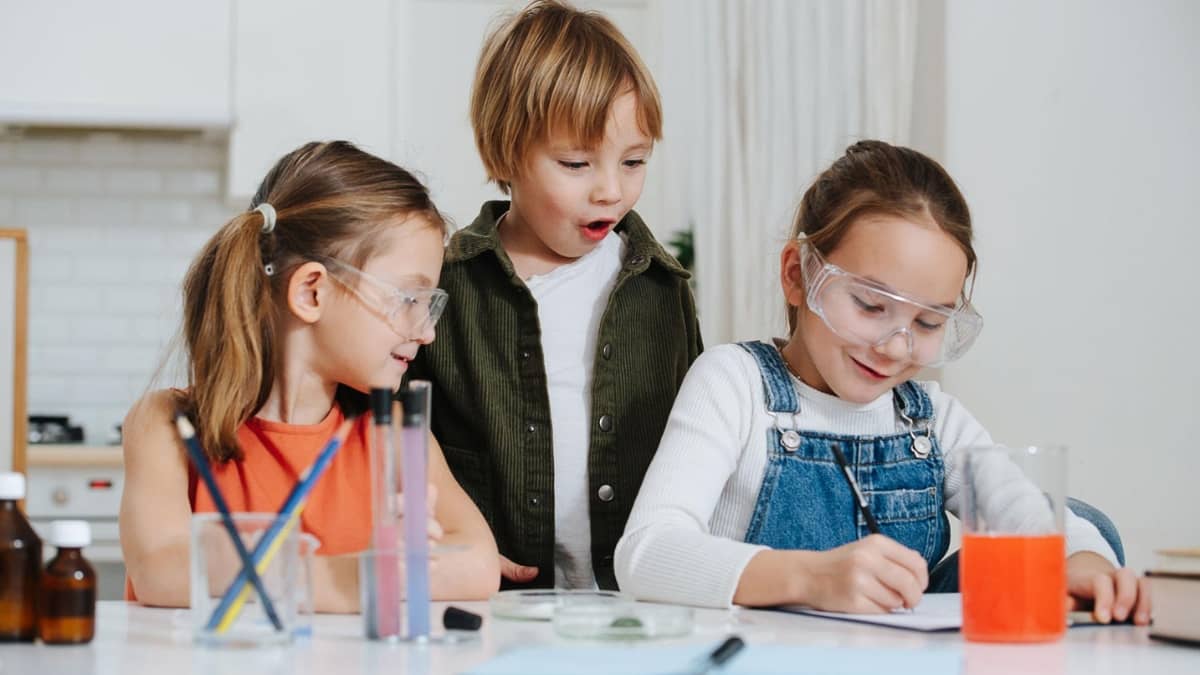
Whether you’re a parent seeking educational rainy-day activities, an educator planning remote learning experiences, or a caregiver looking to inspire young scientists, these experiments provide the perfect blend of fun and learning. Research consistently shows that early STEM exposure enhances problem-solving abilities, builds confidence, and develops collaboration skills that benefit children throughout their academic journey.
Why Home-Based Science Experiments Are Perfect for Kids
Home-based science experiments offer unique advantages that traditional classroom settings often cannot provide. The familiar environment reduces anxiety while increasing engagement, allowing children to learn at their own pace with personalized attention from caring adults.
Learning Through Play: The Science Behind It
According to Dale’s Cone of Experience, students retain approximately 90% of what they say and do compared to only 10% of what they read. Home science experiments exemplify this principle by engaging multiple senses simultaneously. When children physically manipulate materials, observe reactions, and discuss their findings, they create rich neural pathways that enhance long-term retention.
The National Science Teachers Association emphasizes that early childhood students should engage in science and engineering practices to foster curiosity while building foundational knowledge for K-12 science learning. Home experiments naturally incorporate these practices through questioning, investigating, and analyzing results.
Benefits of Home-Based STEM Experiments
Research from the American Educational Research Association reveals that 62% of kindergarteners with limited science exposure continue struggling throughout elementary school. Early STEM education addresses this critical gap by:
Enhancing Cognitive Development: Science experiments challenge children to think logically, solve problems systematically, and develop analytical reasoning skills that transfer across subjects.
Building Confidence and Resilience: When experiments don’t work as expected, children learn that failure is a valuable learning opportunity. This growth mindset proves essential for academic and personal success.
Supporting Literacy Development: Discussing observations, recording data, and explaining results naturally develops vocabulary and communication skills. Studies show that increased science instruction maintains reading comprehension levels while building scientific knowledge.
Encouraging Real-World Connections: Home experiments demonstrate how scientific principles apply to everyday life, making abstract concepts tangible and meaningful.
Encouraging Curiosity and Independent Thinking
Children possess natural curiosity that traditional education sometimes inadvertently dampens. Home science experiments nurture this innate wonder by encouraging questions, hypotheses, and creative problem-solving. The informal setting allows for extended exploration and repeated experimentation—luxuries often unavailable in structured classroom environments.
Research demonstrates that students exposed to inquiry-based STEM activities show increased interest in science and mathematics, improved collaboration abilities, and enhanced problem-solving skills. These benefits extend far beyond science, supporting overall academic achievement and preparing children for future challenges in our increasingly technological world.
What You’ll Need Before You Start
Successful home science experiments require minimal investment but careful preparation. Most materials already exist in typical households, making these activities accessible and affordable for families and educators.
Basic Household Materials
Kitchen Essentials: Baking soda, white vinegar, food coloring, dish soap, salt, sugar, vegetable oil, milk, eggs, lemons, water, measuring cups, spoons, and mixing bowls form the foundation for most experiments.
Craft Supplies: Construction paper, markers, string, balloons, straws, tape, scissors, rubber bands, paper towels, cotton swabs, and plastic containers support various investigations.
Safety Equipment: Safety goggles, aprons or old shirts, first aid kit, and towels for cleanup ensure secure experimental environments.
Documentation Tools: Science journals, pencils, timers, rulers, and cameras for recording observations and tracking progress enhance learning outcomes.
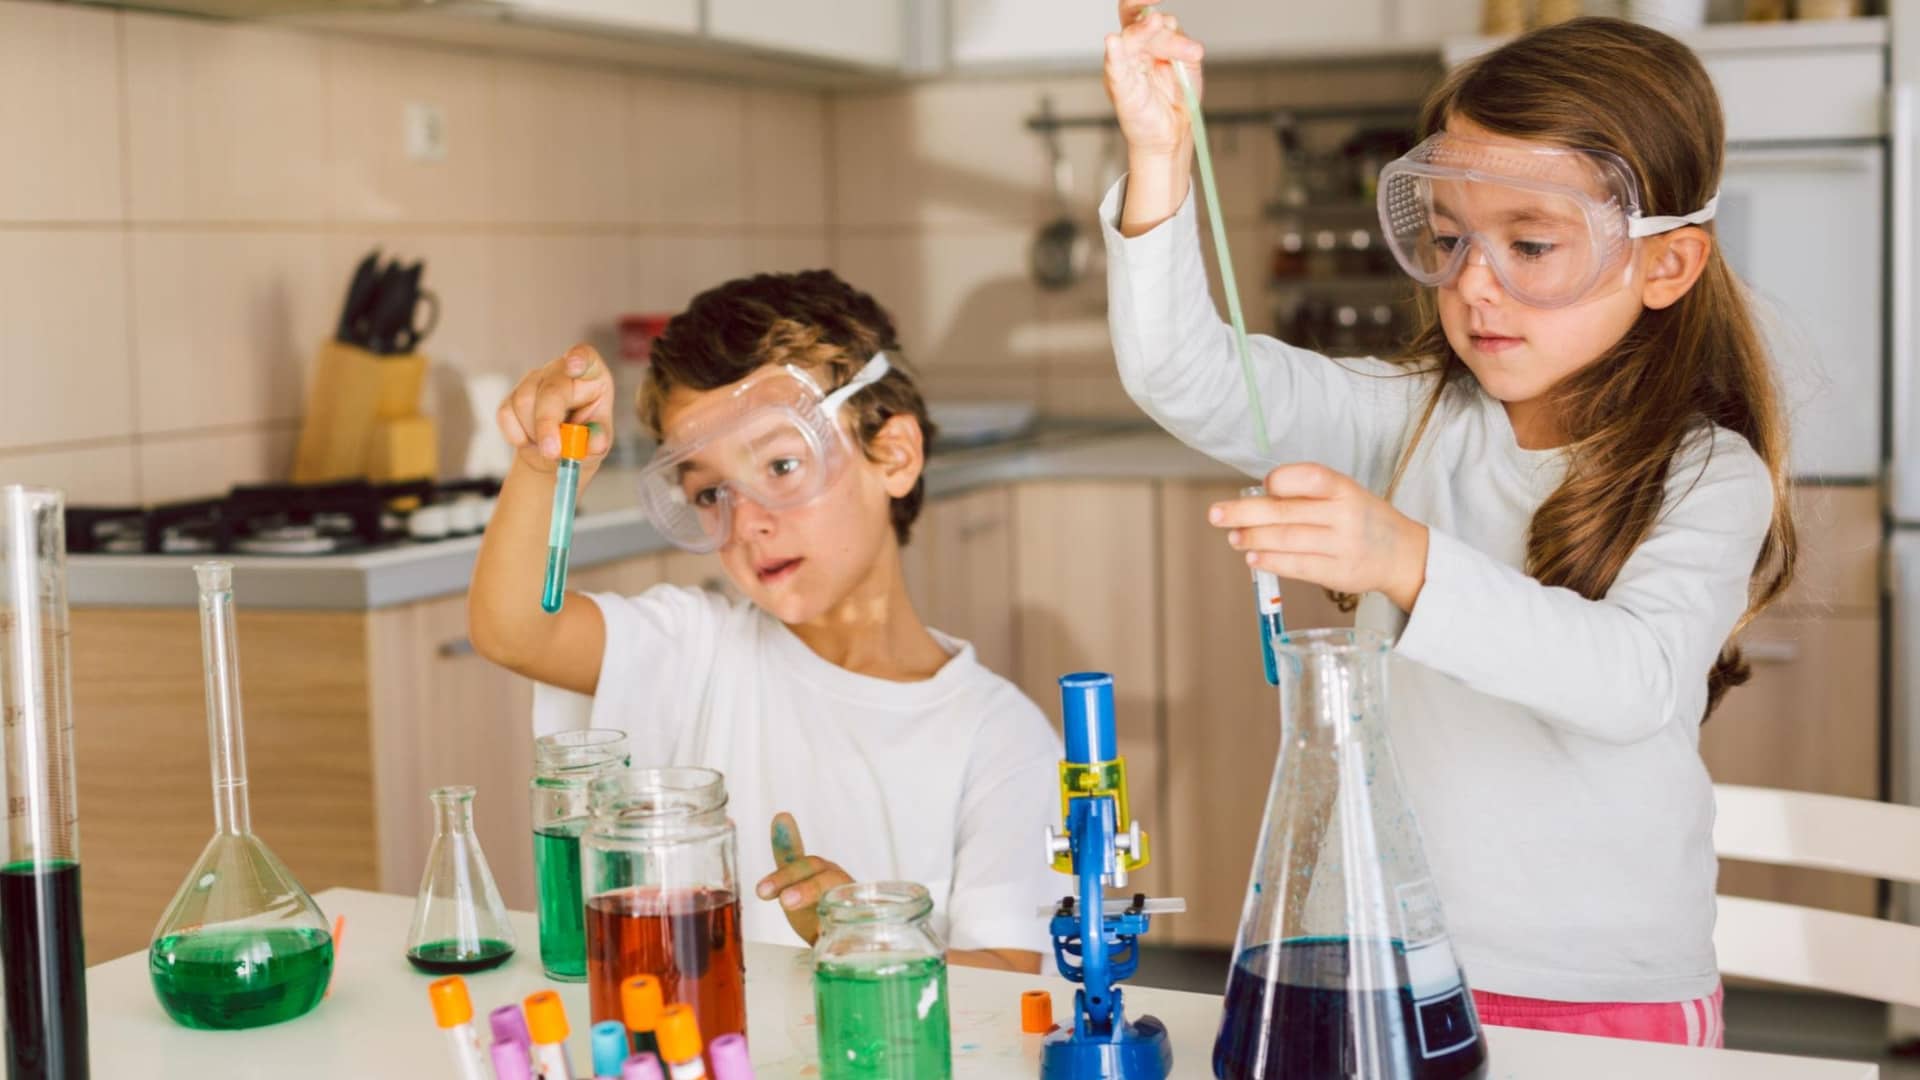
Safety Tips and Adult Supervision
Safety remains paramount in all home science activities. The National Science Foundation emphasizes that adult supervision prevents accidents while maximizing educational value.
Essential Safety Guidelines:
- Always wear safety goggles when working with liquids or small particles
- Ensure adequate ventilation, especially for experiments producing gases or odors
- Keep work areas clean, organized, and free from clutter
- Never taste experimental materials unless specifically designed for consumption
- Have emergency plans and first aid supplies readily accessible
- Supervise children closely, regardless of experiment complexity
Age-Appropriate Considerations: Select experiments matching children’s developmental stages. Younger children require more direct assistance, while older students can handle increased independence with proper guidance.
How to Create a Science Journal for Kids
Science journals transform scattered observations into organized learning experiences. Research shows that documentation enhances retention while developing critical thinking and communication skills.
Journal Components Should Include:
- Experiment name and date
- Materials list and safety precautions
- Initial hypothesis or prediction
- Step-by-step procedure with drawings
- Observations during and after the experiment
- Results and conclusions
- Questions for further investigation
- Personal reflections on the learning experience
Digital journals using tablets or smartphones accommodate different learning preferences while enabling easy sharing with teachers or family members.
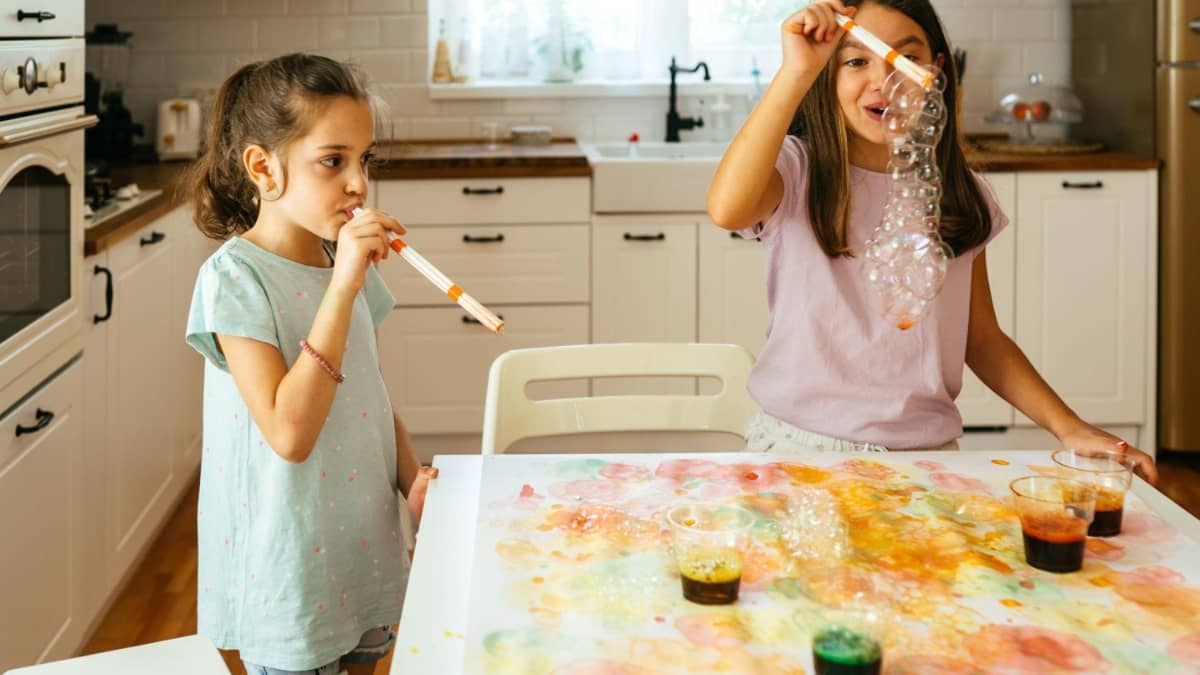
25 Easy and Fun Science Experiments to Do at Home
These carefully selected experiments progress from simple observations to more complex investigations, supporting skill development while maintaining high engagement levels.
1. Magic Milk Color Explosion
This captivating experiment demonstrates surface tension and molecular behavior using common kitchen materials.
Materials: Whole milk, liquid dish soap, food coloring (4 colors), cotton swabs, shallow dish
Instructions:
- Pour milk into shallow dish, covering bottom evenly
- Add 2-3 drops each of different food coloring near center, spacing colors apart
- Dip cotton swab in dish soap
- Gently touch milk surface with soapy cotton swab
- Observe color patterns and movement
- Repeat with fresh cotton swab for continued reaction
Science Explanation: Milk contains fat molecules that naturally repel water. Dish soap breaks surface tension, causing fat molecules to move rapidly and carry food coloring in beautiful, swirling patterns.
2. The Classic Baking Soda and Vinegar Volcano
This time-tested experiment teaches chemical reactions while creating dramatic visual effects.
Materials: Baking soda (4 tablespoons), white vinegar (1/2 cup), food coloring, dish soap (1 tablespoon), small plastic bottle, funnel
Instructions:
- Place plastic bottle in center of large tray or outdoors
- Add baking soda and dish soap to bottle using funnel
- Mix in food coloring for desired lava color
- Quickly pour vinegar into bottle and step back
- Observe eruption and chemical reaction
- Discuss gas formation and pressure buildup
Science Explanation: Sodium bicarbonate (baking soda) reacts with acetic acid (vinegar) to produce carbon dioxide gas, water, and sodium acetate. The rapid gas production creates pressure that forces the mixture out of the container.
3. Grow Your Own Crystals
Crystal growing demonstrates supersaturated solutions while creating beautiful, edible results.
Materials: Sugar (3 cups), water (1 cup), food coloring, string, wooden sticks, glass jar, saucepan
Instructions:
- Tie string to wooden stick, leaving enough length to reach jar bottom
- Wet string and roll in sugar, then let dry overnight
- Heat water in saucepan until boiling
- Gradually add sugar while stirring until completely dissolved
- Remove from heat, add food coloring
- Pour solution into jar, suspend string without touching bottom
- Place in quiet location for 1-2 weeks
- Observe daily crystal formation
Science Explanation: Supersaturated sugar solutions contain more dissolved sugar than water normally holds. As water evaporates, sugar molecules cluster around the string, forming organized crystal structures.
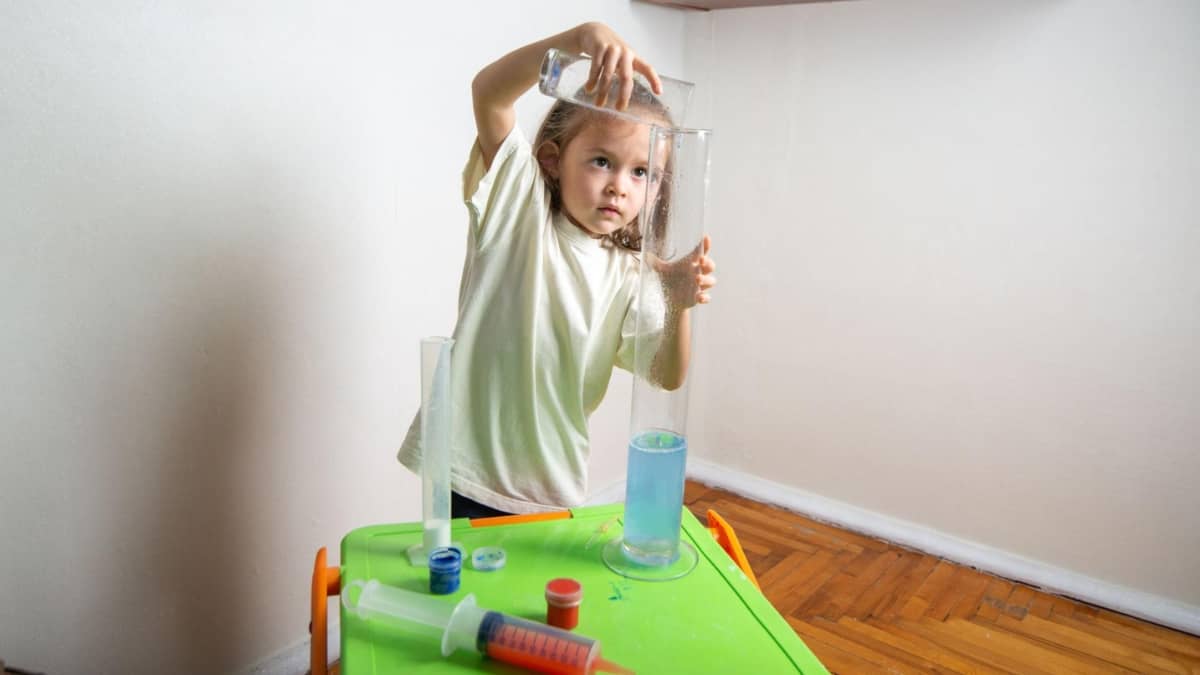
A do-it-yourself lava lamp made with oil, water, and food coloring demonstrates a fun home science experiment for kids.
4. Homemade Lava Lamp
This mesmerizing experiment explores density differences and chemical reactions.
Materials: Clear bottle, vegetable oil, water, food coloring, Alka-Seltzer tablets, flashlight
Instructions:
- Fill bottle 1/4 with water, add food coloring
- Slowly pour oil to fill bottle 3/4 full
- Wait for liquids to separate completely
- Drop in 1/2 Alka-Seltzer tablet
- Shine flashlight from bottom for enhanced effect
- Add more tablet pieces for continued bubbling
Science Explanation: Oil and water have different densities and don’t mix. Alka-Seltzer creates carbon dioxide bubbles that carry colored water upward. When bubbles pop at the surface, colored water sinks back down due to density differences.
5. Walking Water Rainbow
This experiment demonstrates capillary action and color theory simultaneously.
Materials: 7 clear glasses, paper towels, food coloring (red, yellow, blue), water
Instructions:
- Arrange glasses in a line
- Fill glasses 1, 3, 5, and 7 with water
- Add red coloring to glasses 1 and 7, yellow to glass 3, blue to glass 5
- Fold paper towels lengthwise into strips
- Place one end of paper towel in colored water, other end in empty adjacent glass
- Observe water “walking” between containers over several hours
- Note new colors forming in empty glasses
Science Explanation: Capillary action allows water to move against gravity through small spaces in paper towel fibers. Primary colors mix to create secondary colors as they meet in empty containers.
6. Floating Paper Clip (Surface Tension)
This simple experiment reveals the invisible force of surface tension.
Materials: Paper clips, water, clear bowl, liquid dish soap, tissue paper
Instructions:
- Fill bowl with water to the brim
- Gently place tissue paper on water surface
- Carefully lay paper clip on tissue paper
- Slowly push tissue paper down with another paper clip until it sinks, leaving original paper clip floating
- Observe floating paper clip from different angles
- Add one drop of dish soap to break surface tension
- Watch paper clip sink immediately
Science Explanation: Water molecules are attracted to each other, creating surface tension that can support lightweight objects. Soap molecules disrupt this attraction, breaking the surface tension.
7. Skittles Color Wheel
This colorful experiment teaches diffusion and solubility concepts.
Materials: Skittles candies, warm water, white plate
Instructions:
- Arrange Skittles in circle around edge of white plate
- Pour warm water slowly into center until candies are just covered
- Observe colors dissolving and moving toward center
- Note how colors meet but don’t immediately mix
- Gently swirl water to see color blending
- Try with cold water to compare dissolution rates
Science Explanation: Sugar dissolves in water, carrying food coloring. Warm water dissolves sugar faster than cold water. Different colors have slightly different densities, creating distinct bands before mixing.
8. Build a DIY Compass
This practical experiment teaches magnetism and navigation principles.
Materials: Sewing needle, magnet, cork or foam, shallow bowl, water
Instructions:
- Magnetize needle by stroking it with magnet 20 times in same direction
- Push needle through cork horizontally
- Float cork in water-filled bowl
- Observe needle turning to point north
- Test by moving magnet near compass and watching deflection
- Remove magnet and watch needle return to north
Science Explanation: Stroking the needle with a magnet aligns its iron atoms in one direction, creating a temporary magnet. Earth’s magnetic field causes the magnetized needle to align north-south.
9. Create a Rain Cloud in a Jar
This weather experiment demonstrates the water cycle in miniature.
Materials: Glass jar, hot water, ice cubes, plastic wrap, food coloring (blue)
Instructions:
- Fill jar 1/3 with very hot water
- Cover jar opening with plastic wrap, securing with rubber band
- Place ice cubes on plastic wrap above jar
- Add blue food coloring to ice cubes for enhanced effect
- Observe condensation forming on plastic wrap
- Watch “rain” drops fall from plastic wrap into jar
- Discuss cloud formation and precipitation
Science Explanation: Hot water evaporates, rising as water vapor. Cold ice causes vapor to condense into water droplets that eventually become heavy enough to fall as “rain.”
10. Make Oobleck: A Non-Newtonian Fluid
This fascinating experiment explores unusual material properties.
Materials: Cornstarch (2 cups), water (1 cup), food coloring, mixing bowl
Instructions:
- Pour cornstarch into mixing bowl
- Add food coloring to water
- Slowly add colored water while stirring
- Mix until consistency is thick but pourable
- Test by pressing quickly (feels solid) vs. moving slowly (flows like liquid)
- Try rolling into ball, then opening hand to watch it flow
- Experiment with different pressures and speeds
Science Explanation: Oobleck is a non-Newtonian fluid that behaves differently under various stresses. Quick force makes it act solid, while gentle pressure allows it to flow like liquid.
11. Balloon-Powered Car
This engineering experiment demonstrates Newton’s third law of motion.
Materials: Plastic bottle, 4 bottle caps, 2 wooden skewers, balloon, tape, straw
Instructions:
- Pierce bottle caps and slide onto skewers for wheels
- Tape skewer axles to bottom of bottle
- Tape straw to balloon opening
- Tape balloon to top of bottle with straw pointing backward
- Blow up balloon while pinching straw closed
- Place car on smooth surface and release straw
- Observe car’s movement and measure distance traveled
Science Explanation: Newton’s third law states that every action has an equal and opposite reaction. Air escaping backward from balloon pushes car forward with equal force.
12. Leak-Proof Bag Challenge
This surprising experiment demonstrates polymer properties.
Materials: Zip-lock plastic bag, sharp pencils, water, food coloring
Instructions:
- Fill plastic bag halfway with colored water
- Seal bag securely
- Predict what happens when pencils pierce bag
- Slowly push sharpened pencils through bag and out the other side
- Observe that bag doesn’t leak around pencils
- Try removing and reinserting pencils
- Explain polymer behavior to onlookers
Science Explanation: Plastic bags are made of polymers—long chains of molecules. When punctured, these chains contract around the opening, forming a seal that prevents leaking.
13. DIY Slime Recipe
This popular experiment teaches about polymers and chemical reactions.
Materials: White school glue (4 oz), shaving cream (2 pumps), contact lens solution (1 tablespoon), food coloring, glitter (optional)
Instructions:
- Pour glue into mixing bowl
- Add food coloring and mix thoroughly
- Add shaving cream for fluffy texture
- Gradually add contact lens solution while stirring
- Continue mixing until slime pulls away from bowl sides
- Knead with hands until desired consistency achieved
- Store in airtight container between uses
Science Explanation: Contact lens solution contains boric acid, which links glue polymers together, changing the mixture from liquid to elastic solid.
14. Static Electricity Butterfly
This experiment explores electrical charges and attraction.
Materials: Tissue paper, scissors, balloon, hair or wool fabric
Instructions:
- Cut butterfly shape from tissue paper
- Make wings very thin and delicate
- Rub balloon vigorously with hair or wool for 30 seconds
- Hold balloon 2 inches above tissue butterfly
- Watch butterfly rise toward balloon
- Move balloon around and observe butterfly following
- Try with other small paper shapes
Science Explanation: Rubbing creates static electrical charge on balloon. Neutral tissue paper is attracted to charged balloon through electrostatic force.
15. Erupting Lemon Volcano
This citrusy variation teaches acid-base reactions.
Materials: Fresh lemon, baking soda (2 tablespoons), food coloring, liquid dish soap
Instructions:
- Roll lemon on counter to soften
- Cut small hole in top, enlarge with knife
- Remove some pulp to create cavity
- Add food coloring and dish soap to cavity
- Push baking soda into lemon cavity
- Observe foaming eruption
- Compare reaction strength with different citrus fruits
Science Explanation: Citric acid in lemon juice reacts with sodium bicarbonate (baking soda) to produce carbon dioxide gas, creating foaming eruption.
16. Fireproof Balloon (With Water Inside)
This counterintuitive experiment demonstrates heat transfer.
Materials: 2 balloons, water, matches or lighter, adult supervision required
Instructions:
- Adult supervision essential – this experiment involves fire
- Blow up one balloon with air and tie
- Fill second balloon with water and tie
- Have adult light match or lighter
- Hold air-filled balloon near flame briefly – it pops
- Hold water-filled balloon directly in flame for several seconds
- Observe that water-filled balloon doesn’t pop immediately
Science Explanation: Water absorbs heat from flame, keeping balloon temperature below its melting point. Air-filled balloons lack this heat absorption capacity.
17. Egg in a Bottle Experiment
This classic experiment demonstrates air pressure principles.
Materials: Hard-boiled egg (peeled), glass bottle with mouth slightly smaller than egg, matches, adult supervision required
Instructions:
- Adult supervision required for matches
- Light match and drop into bottle
- Quickly place egg on bottle opening
- Watch as egg is sucked into bottle
- Discuss air pressure changes
- Try to remove egg (nearly impossible!)
- Break bottle if egg removal needed
Science Explanation: Burning match heats air inside bottle. As air cools, pressure decreases, creating vacuum that sucks egg into bottle.
18. Invisible Ink with Lemon Juice
This spy-themed experiment teaches oxidation chemistry.
Materials: Fresh lemon juice, cotton swabs, white paper, heat source (lamp or iron), adult supervision for heat
Instructions:
- Squeeze fresh lemon juice into small bowl
- Dip cotton swab in lemon juice
- Write secret message on paper with lemon juice
- Let paper dry completely – message disappears
- Adult supervision required – hold paper near hot lamp bulb or warm iron
- Watch message appear in brown letters
- Try with other citrus juices for comparison
Science Explanation: Heat causes citric acid to oxidize and turn brown, revealing hidden messages. This chemical reaction occurs at relatively low temperatures.
19. Homemade Ice Cream in a Bag
This delicious experiment demonstrates freezing point depression.
Materials: Heavy cream (1/2 cup), sugar (1 tablespoon), vanilla extract (1/2 teaspoon), ice cubes, salt (1/2 cup), 2 zip-lock bags (one quart-size, one gallon-size)
Instructions:
- Mix cream, sugar, and vanilla in quart-size bag, seal tightly
- Fill gallon-size bag with ice and salt
- Place sealed cream mixture inside ice bag
- Seal outer bag securely
- Shake vigorously for 15-20 minutes (use towels to protect hands)
- Remove inner bag and enjoy homemade ice cream
- Discuss why salt was necessary
Science Explanation: Salt lowers ice’s freezing point, making it colder than normal. This supercooled ice mixture freezes cream rapidly while shaking incorporates air for smooth texture.
20. Color-Changing Cabbage Juice (pH Test)
This natural experiment creates a pH indicator from vegetables.
Materials: Red cabbage leaves, hot water, clear cups, various household liquids (lemon juice, baking soda solution, vinegar, soap water)
Instructions:
- Adult help needed – chop red cabbage and steep in hot water for 30 minutes
- Strain liquid to obtain purple cabbage indicator
- Pour small amounts into separate clear cups
- Add different test liquids to each cup
- Observe color changes: red (acidic), green/blue (basic)
- Test various household items to determine acidity
- Create color chart showing pH ranges
Science Explanation: Red cabbage contains anthocyanins that change color based on pH levels. Acids turn the solution red/pink, while bases turn it green/blue.
21. Marshmallow Tower STEM Challenge
This engineering experiment builds spatial reasoning and problem-solving skills.
Materials: Mini marshmallows (1 bag), wooden toothpicks (1 box), ruler, timer
Instructions:
- Set timer for 20 minutes
- Challenge: build tallest freestanding tower using only marshmallows and toothpicks
- Test stability by gently shaking table
- Measure final height
- Rebuild using lessons learned from first attempt
- Compare different architectural approaches
- Discuss triangular vs. square base stability
Science Explanation: Triangular structures distribute weight more evenly than squares, creating stronger foundations. Engineering principles include load distribution, center of gravity, and material strength.
22. Tornado in a Bottle
This weather experiment demonstrates vortex formation.
Materials: 2 clear plastic bottles, water, food coloring, glitter (optional), duct tape, metal washer
Instructions:
- Fill one bottle 3/4 with water
- Add food coloring and glitter for visual effect
- Place metal washer on bottle opening
- Invert empty bottle and tape securely to create connected system
- Flip so water-filled bottle is on top
- Swirl in circular motion and flip quickly
- Observe tornado vortex formation
Science Explanation: Centripetal force created by swirling motion causes water to form vortex shape. Air pressure differences allow smooth water flow between bottles.
23. Solar Oven Using a Pizza Box
This renewable energy experiment demonstrates heat concentration.
Materials: Pizza box, black construction paper, plastic wrap, aluminum foil, tape, thermometer
Instructions:
- Cut flap in pizza box lid, leaving 1-inch border
- Line box bottom with black paper
- Cover opening with plastic wrap, tape securely
- Line inner lid with aluminum foil, shiny side down
- Angle foil flap to reflect sunlight into box
- Place thermometer inside, close box
- Monitor temperature increase over 30 minutes
- Try cooking s’mores or melting cheese
Science Explanation: Black paper absorbs heat, aluminum foil reflects and concentrates sunlight, plastic wrap creates greenhouse effect by trapping warm air.
24. Dancing Raisins Experiment
This bubbly experiment demonstrates density and buoyancy.
Materials: Clear carbonated soda, raisins, clear glass
Instructions:
- Fill clear glass with carbonated soda
- Drop 8-10 raisins into glass
- Observe raisins initially sinking
- Watch raisins begin “dancing” up and down
- Count how many raisins are floating vs. sinking at different times
- Try with different objects (small pasta, cereal)
- Explain buoyancy changes
Science Explanation: Carbon dioxide bubbles attach to raisins’ rough surfaces, decreasing their density and causing them to float. At surface, bubbles pop and raisins sink again.
25. Build a Rubber Band Helicopter
This aerodynamics experiment explores lift and rotation.
Materials: Rubber band, paper clip, index card, scissors, tape
Instructions:
- Cut index card into 4-inch by 1-inch rectangle
- Cut lengthwise slit halfway through card
- Bend one half up, other half down to create rotor blades
- Straighten paper clip and tape to card center
- Attach rubber band to paper clip end
- Wind rubber band by spinning helicopter
- Release and observe flight pattern
- Experiment with different blade angles
Science Explanation: Twisted rubber band provides energy. Angled rotor blades create lift through Bernoulli’s principle as they spin, causing helicopter to rise and rotate.
How These Easy Science Projects for Kids Support Learning
Home science experiments provide far more than entertainment—they create foundational learning experiences that support academic success across multiple subjects while developing crucial life skills.
Aligning with School STEM Curriculum
These experiments directly support Next Generation Science Standards (NGSS) by incorporating the three dimensions of learning: Science and Engineering Practices, Disciplinary Core Ideas, and Crosscutting Concepts. Students engage in authentic scientific practices including questioning, investigating, analyzing data, and constructing explanations.
Specific NGSS Alignments:
- K-2-ETS1-2: Develop simple sketches to illustrate how object shapes help function (Marshmallow Tower, Paper Airplane)
- 1-PS4-1: Plan investigations showing vibrating materials make sound (Rubber Band Helicopter, Musical Bottles)
- 2-PS1-1: Plan and conduct investigations to describe and classify materials by observable properties (Density experiments, Color-changing reactions)
- 3-5-ETS1-3: Generate and compare multiple solutions to problems (Engineering challenges)
Research demonstrates that curricula aligned with NGSS standards improve student science performance by 0.24 standard deviations—equivalent to a 10 percentile point improvement. These experiments provide the hands-on experiences essential for meeting these elevated standards.
Indoor Science Activities for Rainy Days
Weather-dependent learning challenges disappear with comprehensive indoor science experiments. Each activity requires minimal space while providing maximum educational impact, making them perfect for apartment living, winter months, or pandemic-related restrictions.
Weather-Independent Benefits:
- Consistent learning opportunities regardless of outdoor conditions
- Enhanced focus in familiar, comfortable environments
- Extended experimentation time without schedule constraints
- Immediate cleanup and safety management
- Repeated trials for deeper understanding
Studies show that location flexibility increases student engagement by 23% while reducing anxiety associated with new environments. Home-based learning particularly benefits students who struggle in traditional classroom settings.
Inspiring Future Scientists and Engineers
Early positive STEM experiences create lasting impact on career interests and academic trajectories. Research indicates that students engaged in hands-on science activities before age 10 are significantly more likely to pursue STEM fields in high school and college.
Long-term Impact Indicators:
- Increased confidence in problem-solving abilities
- Enhanced persistence when facing academic challenges
- Greater willingness to ask questions and seek explanations
- Improved spatial reasoning and mathematical thinking
- Stronger communication skills for explaining complex concepts
The U.S. Bureau of Labor Statistics projects that 80% of jobs in the next 20 years will require technical skills. These foundational experiments provide essential preparation for future success in our increasingly technological society.
Bonus Tips for Parents
Maximizing educational value requires strategic approaches that extend learning beyond the immediate experiment while building lasting enthusiasm for scientific exploration.
How to Encourage Exploration and Questions
Effective science facilitation involves strategic questioning techniques that guide discovery without providing immediate answers. Research shows that open-ended questions increase critical thinking by 34% while building confidence in scientific reasoning.
Powerful Questioning Strategies:
- Predictive Questions: “What do you think will happen if we add more baking soda?”
- Observational Questions: “What differences do you notice between these two reactions?”
- Analytical Questions: “Why might the balloon-powered car travel further on smooth surfaces?”
- Extension Questions: “How could we modify this experiment to test different variables?”
Creating Safe Questioning Environments:
- Celebrate “wrong” answers as learning opportunities
- Model curiosity through your own questions and wonderment
- Provide wait time for thoughtful responses
- Encourage multiple explanations and hypotheses
- Document questions for future investigation
Turning Everyday Moments into Learning Opportunities
Science education extends far beyond formal experiments. Daily activities provide rich opportunities for scientific observation and questioning that reinforce experimental learning.
Kitchen Science Connections:
- Cooking demonstrates chemical reactions, temperature effects, and measurement precision
- Food preservation explores bacteria, pH levels, and environmental factors
- Baking illustrates chemical leavening, gluten development, and heat transfer
Outdoor Science Extensions:
- Weather observation connects to water cycle experiments
- Plant growth relates to crystal formation and cellular processes
- Animal behavior demonstrates adaptation and environmental response
Technology Integration:
- Digital microscopes reveal cellular structures and crystal patterns
- Time-lapse photography captures slow processes like plant growth
- Data logging apps track temperature changes and experimental variables
Science Experiment Failures: Why They Matter
Traditional education often treats mistakes as problems to avoid, but authentic scientific practice views failures as essential learning opportunities. Teaching children to embrace experimental failures builds resilience while modeling real scientific processes.
Reframing Failure as Learning:
- Scientists learn more from failed experiments than successful ones
- Unexpected results often lead to the most important discoveries
- Problem-solving skills develop through troubleshooting difficulties
- Persistence and grit emerge from overcoming experimental challenges
Practical Failure Management:
- Discuss what went wrong and why it might have happened
- Brainstorm modifications for future attempts
- Celebrate the learning that occurred despite “failure”
- Share stories of famous scientific discoveries that resulted from accidents
- Encourage multiple attempts with different approaches
Research indicates that students who experience productive failure in science show 23% greater improvement in conceptual understanding compared to those who experience only success. This resilience building proves valuable across all academic subjects and life experiences.
Frequently Asked Questions (FAQs)
What age is appropriate for home science experiments?
Children as young as 3 can participate in simple science experiments with close adult supervision. Toddlers benefit from sensory exploration like Oobleck or color mixing, while elementary students can handle more complex investigations involving measurement and hypothesis testing. The key is matching experiment complexity to developmental stages while maintaining safety standards.
How do I ensure safety during home science experiments?
Safety requires three essential components: proper equipment (safety goggles, aprons), adult supervision for all experiments, and clear safety rules consistently enforced. Always read instructions completely before beginning, maintain clean work areas, and have first aid supplies accessible. Never allow children to taste experimental materials unless specifically designed for consumption.
What if an experiment doesn’t work as expected?
Failed experiments provide excellent learning opportunities that mirror authentic scientific processes. Discuss possible causes, brainstorm modifications, and encourage multiple attempts. Scientists learn more from unexpected results than perfect outcomes. Document what happened and use failures as springboards for new questions and investigations.
How do these experiments align with school curricula?
These experiments directly support Next Generation Science Standards (NGSS) by incorporating scientific practices, disciplinary core ideas, and crosscutting concepts. Activities like building structures align with engineering standards, while chemical reactions support physical science learning. Many experiments can be adapted for different grade levels to match specific learning objectives.
Can I do these experiments with limited supplies?
Absolutely! These experiments use common household materials specifically to ensure accessibility. Most materials cost under $20 total and can be reused for multiple experiments. Many activities require only items like baking soda, vinegar, food coloring, and containers that most families already possess.
How long do these experiments typically take?
Individual experiments range from 15 minutes for simple observations like floating paper clips to several days for crystal growing or plant observations. Most activities complete within 30-45 minutes, making them perfect for focused learning sessions without overwhelming young attention spans. Extended experiments can be checked daily for ongoing observation practice.
What learning benefits do children gain from home science experiments?
Research demonstrates that hands-on science experiences enhance critical thinking, problem-solving abilities, and academic confidence. Children develop scientific vocabulary, mathematical reasoning, and communication skills while building positive associations with STEM subjects. Early science exposure predicts future academic success and career interest in scientific fields.
How can I extend these experiments for deeper learning?
Extension opportunities include varying experimental conditions, testing different materials, documenting results over time, and connecting findings to real-world applications. Encourage children to ask follow-up questions, research related topics, and share discoveries with others. Many experiments can be repeated with modifications to explore different scientific concepts.